Thursday, October 27, 2011

Want to help?

Our backsplash tile came yesterday and although it's a slightly different color than I imagined it would be ( that's right, we just ordered it no sample. The price was right and I am impulsive) I LOVE it!!!

Here are the colors for all the materials in the kitchen so far.

White cabinet, hickory wood floor, moss penny round tile, stone-ish laminate counter.


Sooo I need help! What color for the wall. We're thinking a grayish blue or a teal-ish sea blue. Maybe something like this?


Ideas? Please share!

Wednesday, October 26, 2011

baby steps

After the big push on the weekend we put in the floors counter and sink we were exhausted.  We kind of slowed down the pace.

Over the week Steve cut and glued the rest of the wood for the doors. We had a few issues with wood bending or moving as the glue dried despite 6 clamps on each door. So we filled the cracks with spackle and sanded the uneven spots down.  

Then over the weekend we primed the doors.  The only other project that got done on the Kitchen this past weekend was Steve finishing the floor in the closet.  
It was a gorgeous weekend so we spent a lot of time outside raking leaves and chasing Everett around the yard. We also discovered that we think we had(have) grubs. Grubs turn into Beetles right? Well our yard is crawling with big yucky Beetles, patches of dead grass, and little mounds with holes where I assume the icky things crawled out from the ground. Boo. Now we have to figure out how  and when to handle that problem.

Anyway during the week we have been slowly putting paint on the cabinet doors one coat at a time, one side at a time. Maybe they will be done by the weekend.

Catching up

I'm a little behind here... not this past Saturday but the Saturday before we put in most of the hardwood floor.
That Sunday morning we ran out to Lowes and picked up counters, a sink and a new faucet. 

When we got home Steve's parents came up and we finished putting in the rest of the floor on the cabinet side of the kitchen.  We also  did some of the detail cutting on the floors. This was tedious and time consuming but it looks good in the end so it was worth it.

Then we brought the base cabinets back in and fastened them to the wall.  

Next we put the big counter on top and tried to figure out where the sink hole would go.  This got complicated and took a long time because it was a tight fit and we only had one chance to make the cut right.


Again we lucked out and it worked.  

Then Steve and his Dad made a cut on the small counter to make it the right length to fit.
  

It took forever to get the counters fastened in to the cabinets. I had to stand, and sit on the counters to get them to push into place while Steve screwed them in. I wish I had photos of this, it was quite a scene.  
Finally the sink was in, the plumbing was reconnected and I had a working kitchen.  I'm really happy with how it looks and I can't wait to put the doors on and pick out a back splash.


Thursday, October 20, 2011

How to fit 16 feet of counter top in your Toyota Prius

1. Go to Lowes and purchase a 10ft and 6 ft section of corner cut laminate counters for a very reasonable price.

2.  Remove the headrest from the front seat and fold the seat all the way back.


3. Fold the back seat all the way forward over top of the front seat.


4. Slide in the big counter.

5. Scramble around looking for sweatshirts or towels to cover the big counter so it doesn't get scratched and slide the little counter on top.


6. Tie up the tailgate.


7. Bring the counters home!


I love my prius!

Monday, October 17, 2011

Saturday was new floor day!

Our son usually wakes up around 6am. Sometimes we let him cry a minute or two and he goes back to sleep, but he almost always wakes up at least once before 7 am. (Sometimes several times.)
 As a result of this human alarm clock, we don't set our actual alarm clocks on the weekend, even when we have a big day of home improvement scheduled.  So imagine our surprise when our eyes opened at 8am and there was no baby crying!  SHOCKING!!! We NEVER sleep in anymore and 8am was a post baby record. I guess we all needed the sleep. Steve and I had worked until about midnight on Friday, and we had a long day ahead of us.


So we hopped out of bed, got dressed, and headed out to Home Depot.  We got our plywood and other supplies and then stopped at Wawa for breakfast, (no working kitchen means no cooking!) We headed home and Everett and I played while Steve screwed the plywood down onto the floor.


Around 10 Everett went down for a nap and my Dad showed up.  Then we all put our heads together and tried to figure out how we would join the hallway with the kitchen. This took about two hours. We did a lot of measuring.

Then after many discussions, careful calculations and several plans we said "screw it," threw down some underlayment, and started hammering in the planks.


It took all day and we worked our butts off! We left all the detail work for another day but we got a lot done.


By 6pm we had all but the last two feet behind the cabinets done. We also had some edge work and the pantry left to do, but I was really happy with how much we accomplished.  Steve and I make a good team!

I also had fun using the mitre saw and the nail gun thingy.  

Next up: finishing the floor, cabinets, counters and sink!!!!!

Friday night work

This weekend was such a whirlwind of work I can hardly remember what we did on what day.
Friday (I think) was spent ripping out the floor cabinets and emptying the room.  The first snag was the dishwasher.  It was anchored to the counter top with these:
 Do these have a name? I've never seen these before and we obviously didn't have the tool to remove these. So we did this:
After a bit of destruction to the counters the screw just came right out.

Once the dishwasher was out, and the sink was disconnected the counter tops came off pretty easily. The first cabinet came out easily too.  But the big double cabinet was really tough.  

There was the little matter of the plumbing.  We had to cut a hole from the pipes all the way to the back of the cabinet like this


Then the next snag was getting one of the nails out of the back support of the cabinet and the wall. It was a very stubborn nail. Each method resulted in more destruction. Prying and knocking put a big hole in the drywall.  Drilling it out destroyed the wood and broke a drill bit.  Honestly I'm not even sure what eventually worked, but in the end we got it out and put the cabinets in the dining room.

Several drill holes on the wood in the front of this image. A big hole in the drywall in the back.
The night before we had to rip out a layer of flooring to make it even. Friday night we discover we need to ADD a layer under the cabinets to make the floor level. So as we made our shopping list for Saturday morning, quarter inch plywood was on the list. Also on the list was spackle for the hole in the wall, and a new drill bit.

But other than that we were ready for a floor install!!

Saturday, October 15, 2011

oh snap!

On Thursday during the day I started removing some of the moulding in the kitchen to get ready for our floor install on the weekend. It was so tough to get out and really deep under the existing floor. This was confusing.

Then when Steve came home and we started trying to figure out how to join the wood with the next room we discovered a small (huge) problem.


The dining room was a good 1/4 inch or more lower than the kitchen floor. WHAT!?!?! I was really confused.  We knew the kitchen floor was a second layer put in sometime in the 90's, but we also knew that the same linoleum tile was in the hallway.   The flooring guys just went right over the linoleum in the hall to keep things even. How could they be different levels with the same flooring?

We soon discovered that the top layer of floor was glued onto a 1/4 inch plywood board, fastened down with L cleats.


 So we ripped up the boards, which wasn't that hard.

And then we ripped out hundreds and hundreds of these L cleats. 1 cleat every 4 inches.

It was not what we had planned for Thursday night, and I had to miss my favorite TV shows. But it wouldn't be a DIY project without a punishing labor intensive surprise. Lets hope this is the only one!

Wednesday, October 12, 2011

Space Saver

Since the kitchen is on a stand still until this weekend I thought I would share an update we made to the house over the summer.

There are only 3 main things about our house that make it not quite our dream house.  The decor, obviously, but that is something we are working on!  The second compromise we had to make is the oil heat. If we want gas we have to spend some big bucks to tie in to the natural gas line in the street.  And number 3 was not having the big master bathroom. We do have a master bath, which is awesome, but it is tiny, with only a stand up shower, and no tub.  When we moved in this tiny bathroom had almost zero storage. Just one teeny tiny medicine cabinet.  The sink was a simple, wall mounted, no counter, no vanity, pipes sticking out eye sore. Sadly I don't have a before picture of the master bath to show you. However, you can see what I mean with the following picture of the downstairs powder room. The mirror and sink here are the same exact mirror sink combo that we had upstairs.


There wasn't even a place for my hairdryer!!!! This had to change. So we looked for new cabinets and vanities. The only problem was that the space for the sink between the door and the wall was very shallow but pretty wide. Most vanities that were over 24 inches wide were at least 20 inches deep or more.  Wait.  I'll draw you a terrible picture of the bathroom layout...


So we needed an odd shape vanity and sink combo with loads of storage. This was hard to find. Traditional vanities of this size have very little storage.  Because they are so shallow  the pipes take up the entire space underneath.  We got lucky and found a very smart and affordable solution at IKEA.  
  
 Tah-Dah!!!!


 The brilliant part of the design on this vanity is the way the pipes work. They give you a special drain pipe that goes flat against the wall so we only use up a few inches for plumbing.

The rest of the space is used for two deep, wide, and tall drawers of wonderful STORAGE!!!!! Basically all my make up and hair stuff fits in the bottom drawer and Steve has the top drawer.

Eventually (when the kitchen is done) we would like to paint the bathroom, and put in a tile back splash. But that will happen way later. My number one priority was not having to go to the hall bath or a box in my closet to get my eyeshadow or hair products. 

Mission accomplished!


Friday, October 7, 2011

Slow week

This week was slow in that we didn't get much done, but fast in that I'm not sure where the week went.

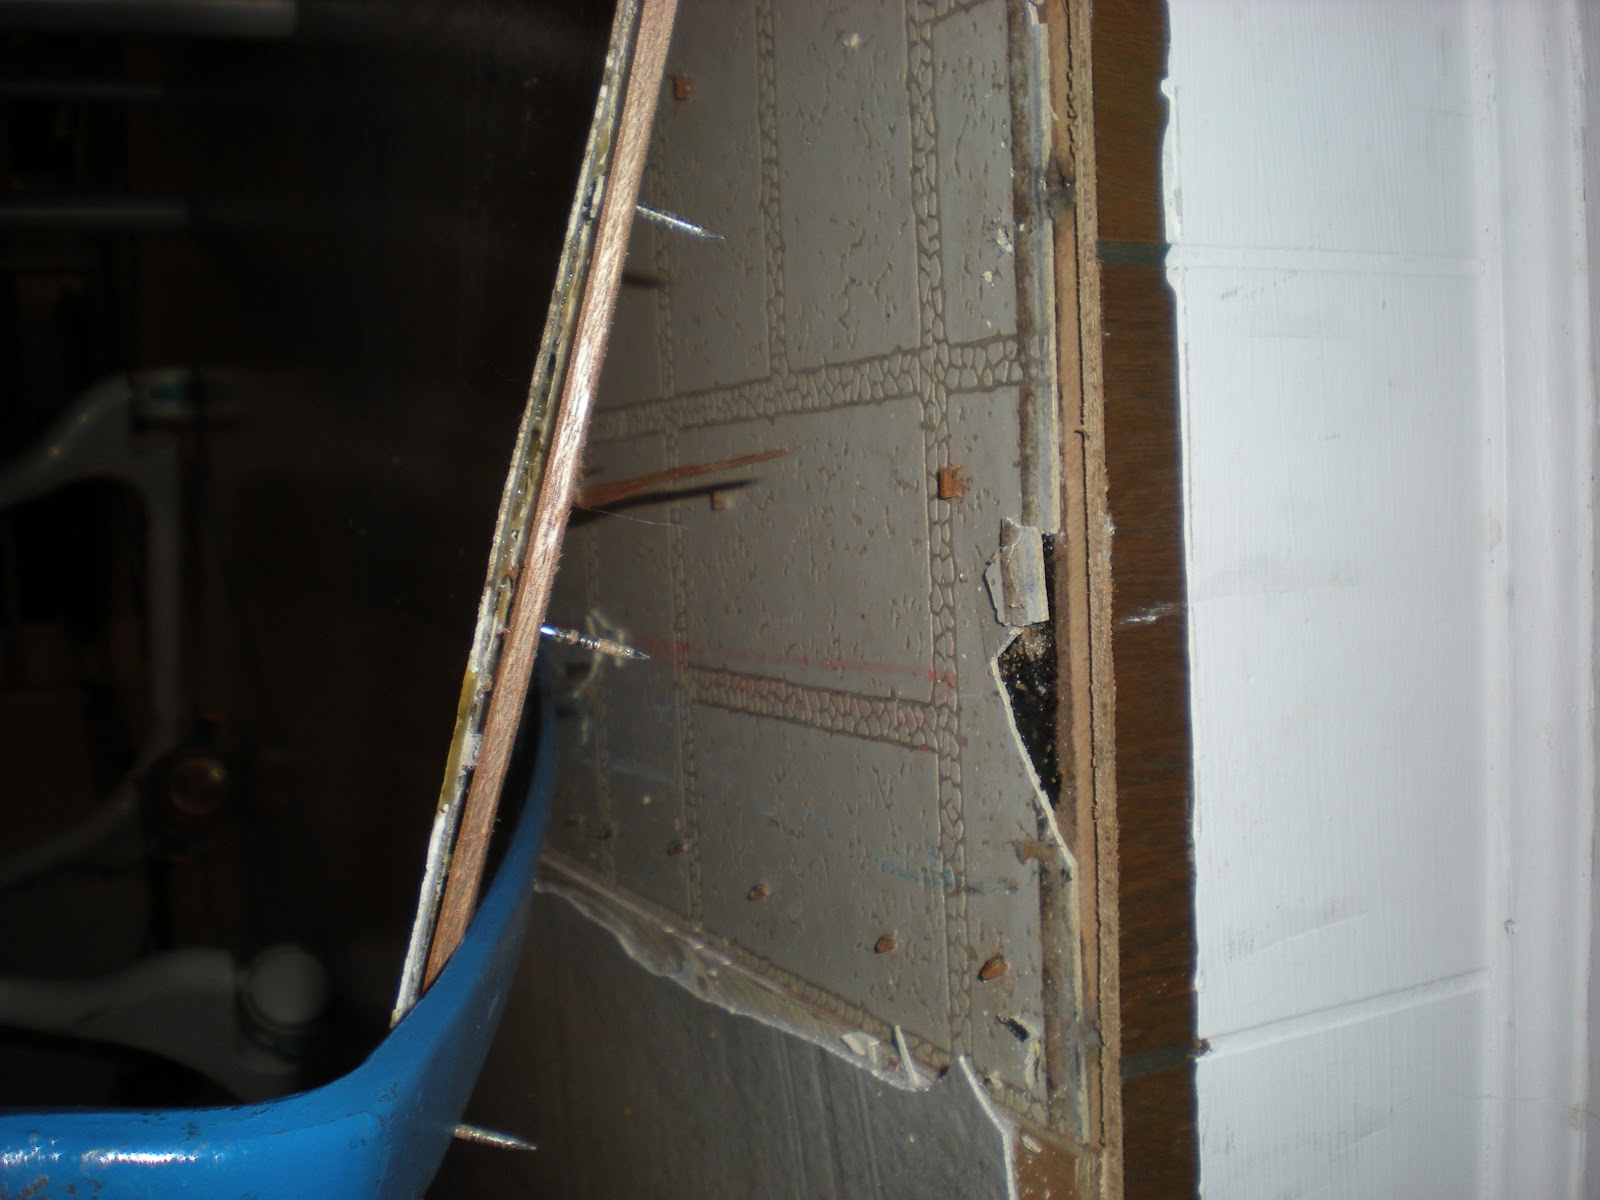
Steve has much better fine motor skills and attention to detail than I so it is his job to glue the panels on to the doors. He's been getting 1 or 2 done a night. This will go into next week  before he is done and I can prime and paint.

We are leaving for a long weekend in Vermont tonight so I've been packing for that all day.

I started a post yesterday about the hardwood floors, and about everything else we've done in the house so far but then I realized I didn't have any after photos. I considered taking after photos (although not one single room is really "done" yet) but decided against it. I didn't want my after photos to include the contents of my kitchen overtaking the dinning room, or the new kitchen floors lying all around the living room.  So you will have to wait.

In the mean time, here is a more detailed view of all the 1974 we were faced with upon moving in.

Front of the house. We hope to paint in the spring.


View coming down the stairs towards the front door.

Living room view from the front door.

Up the stairs from the front door. Pretty carpet!

View of Kitchen from the front door.


View of Dining room from the Living room.


 View of the family room from the kitchen.


 View of the Kitchen from the Family room, Dining room is on the other side.

 Downstairs Powder room

Here is the Master bedroom:

This photo is terrible. It was very very dark and I brightened the heck out of it to make the carpet and wallpaper visible but you get the idea. This is the small bedroom.

Here is the upstairs hall bath.

Bedroom #3


Bedroom #4. I actually don't mind the wallpaper in this room and it looks much better without the green/gold carpet.

So that is where we started.  I can't wait to show you the kitchen when its done!